
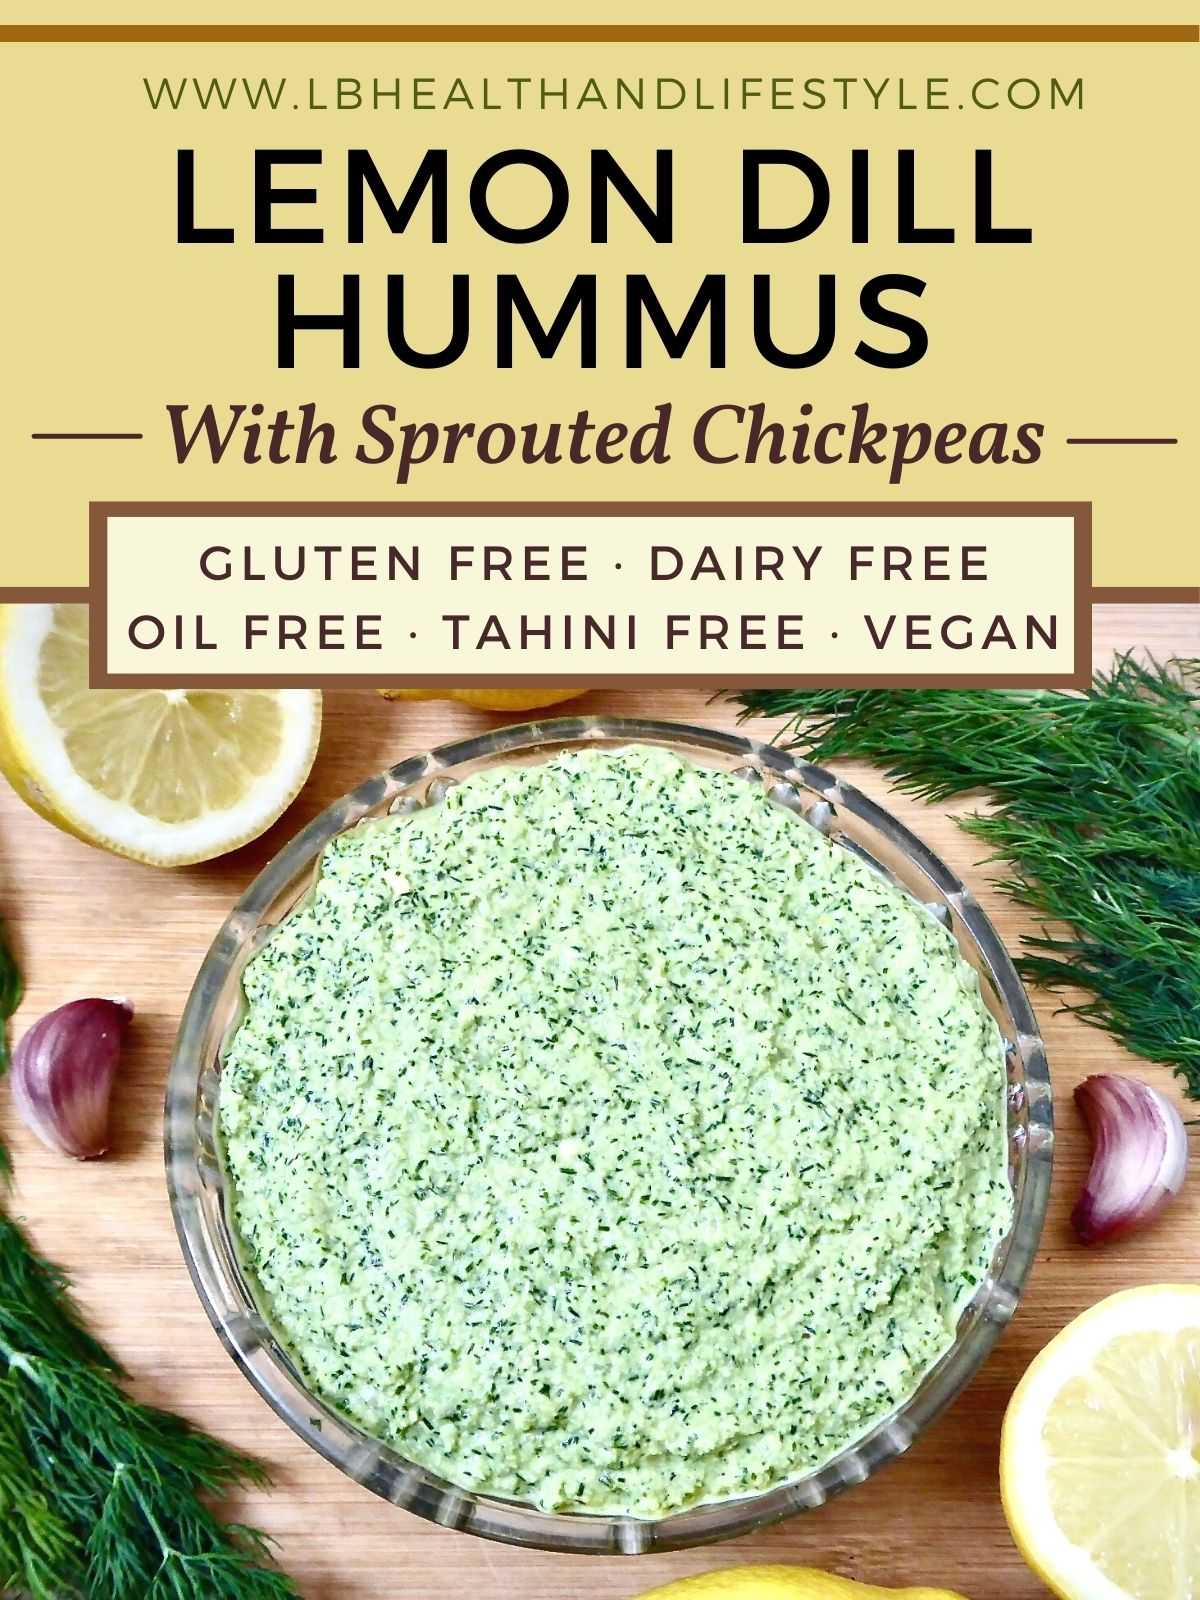
This lemon dill hummus recipe is a light and refreshing version of the classic, made without tahini and oil, with a garlic free option. It can be used in numerous ways, including as a dip, spread, appetizer and stirred into salads or pasta dishes. It’s naturally gluten free, dairy free, nightshade free and vegan.
Disclaimer: This post is intended for informational purposes only. This is not intended to constitute or be a substitute for medical advice. Please consult a qualified medical practitioner if you have any health or medical concerns and before making any changes to your diet, lifestyle or treatment plan. Those with a weakened immune system, pregnant women, children and the elderly should always cook sprouted beans thoroughly until they are piping hot before eating them. This post contains affiliate links, meaning at no additional cost to you I will earn commission if you click on a link and make a purchase. As an Amazon Associate I earn from qualifying purchases. See my full disclaimer here.

For other healthy sprouted recipes you may enjoy these 3 different flavours of Sprouted Overnight Oats With Frozen Fruit for breakfast, salads like this Jackfruit Tuna Salad and Sprouted Buckwheat Salad, dinners like this Jackfruit Chilli Con Carne and Vegan Hash and desserts like this Carrot Cake Flaxseed Pudding.
Jump To Section:-
- Benefits of this recipe
- Ingredients
- Equipment needed
- Step by step instructions
- How to eat hummus
- Storage
- Frequently asked questions
- Diet requirements
- Other sprouted chickpea recipes
- Other sprouted recipes
- Recipe card
Benefits Of This Recipe
- Sprouted hummus. Chickpeas are a rich source of protein, fibre, vitamins and minerals. However, they contain anti nutrients which bind to nutrients preventing our bodies from absorbing them and can cause digestive problems like bloating and gas (1). Store bought canned chickpeas aren’t sprouted before being cooked. This recipe uses sprouted chickpeas. Soaking and sprouting chickpeas before eating maximises the digestive enzyme content, making them easier to digest, increases the protein, fibre, vitamin and mineral content by up to 50% and deactivates the anti nutrients which maximises the nutrients our body absorbs (2, 3).
- Raw. Deactivating the anti nutrients means sprouted chickpeas don’t need to be cooked before eating and can be consumed raw. As cooking reduces the digestive enzyme and nutrient content, using sprouted chickpeas instead of canned makes this a raw hummus, which preserves all of the digestive enzymes and nutrients to maximise the health benefits.
- Tahini and oil free. This hummus is a lighter low fat version of the classic recipe by making it with no oil and tahini, which is especially beneficial for those with sesame seed allergies who are unable to have tahini. It’s a plant based whole food hummus made with 5 simple ingredients.
Related Post: 10 Tips To Improve Digestion
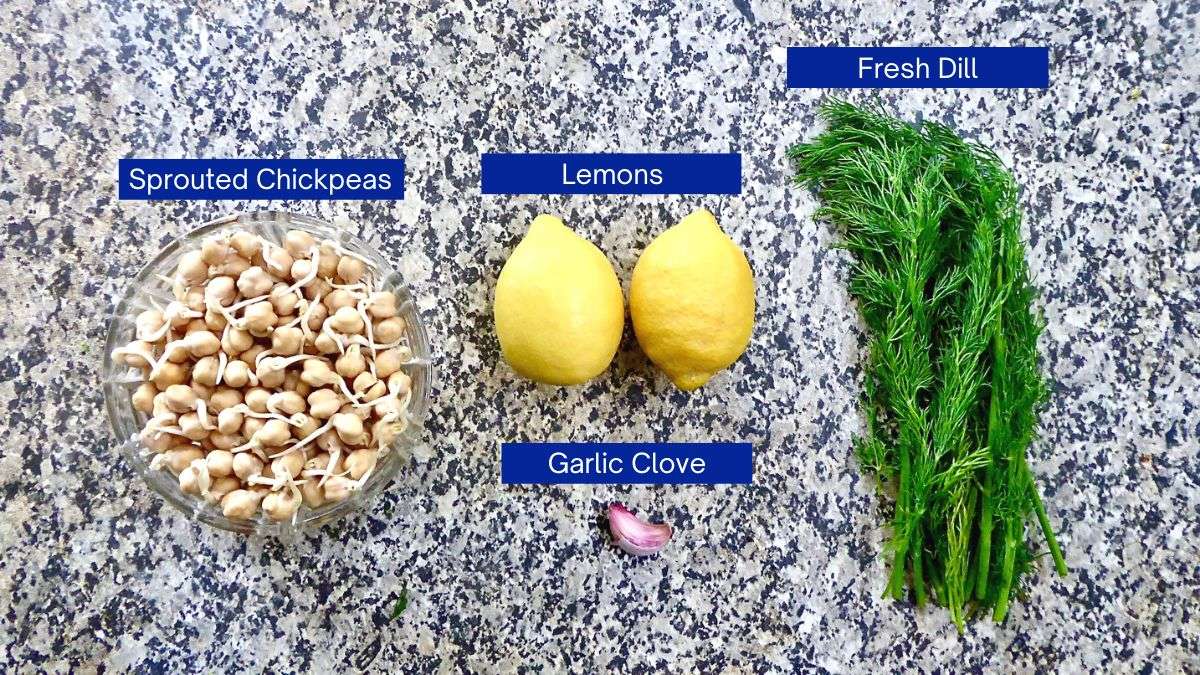
Ingredients
- Sprouted chickpeas (UK Link/US Link). You can sprout chickpeas easily at home following these instructions on How To Sprout Chickpeas/Garbanzo Beans. To sprout them successfully it’s best to use organic chickpeas labelled for sprouting specifically as they are grown without artificial chemical pesticides and thoroughly cleaned and tested to ensure they don’t contain harmful bacteria and pathogens. If you don’t have time to sprout chickpeas then you can replace them with store bought canned chickpeas.
- Lemon zest & juice. This adds a delightful refreshing citrus flavour.
- Fresh dill. This herb combines perfectly with the lemon to provide a light and refreshing flavour. Be sure to use fresh rather than dried as dried can result in a coarse gritty texture and doesn’t provide such a strong flavour.
- Garlic clove.
Please see the recipe card at the bottom of the post for the full detailed ingredient list.
Equipment Needed
- Tea towel
Step By Step Instructions
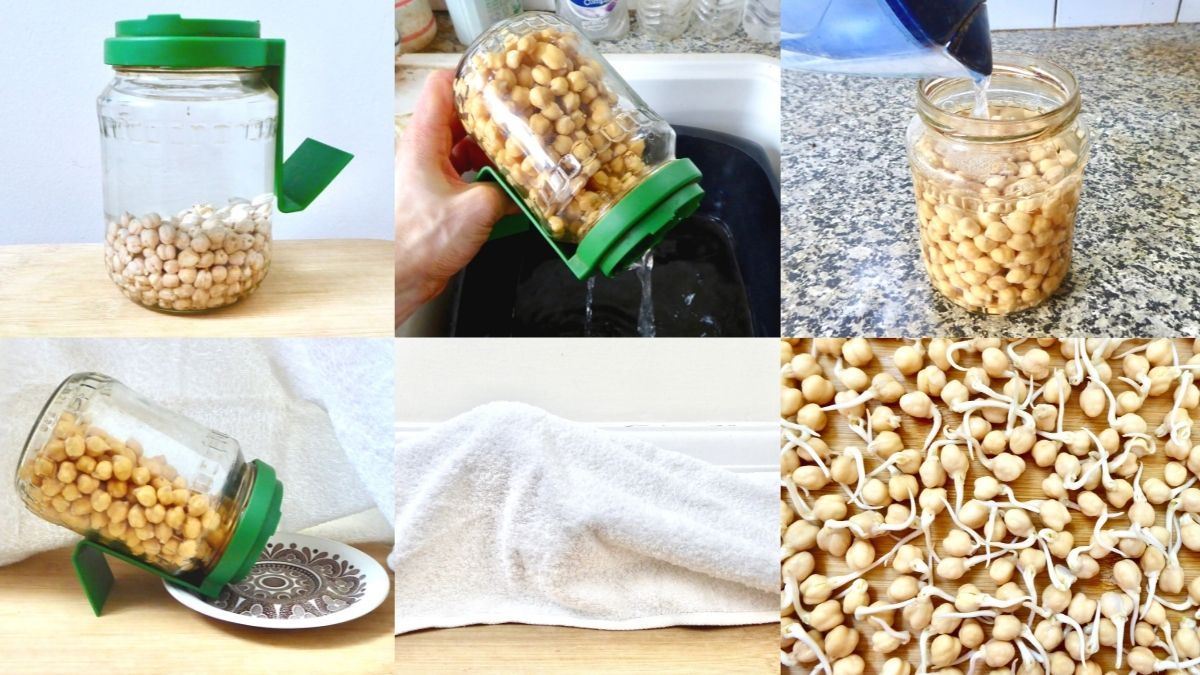
How To Sprout Chickpeas/Garbanzo Beans
- 1/3 cup/60 grams of unsprouted chickpeas should provide the 1/2 cup/120 grams of sprouted chickpeas needed for this recipe.
- Add the chickpea sprouts to a sprouting jar and fill the jar fully with filtered water. Leave to soak for 12 hours.
- After 12 hours, drain the water, then rinse and drain once more by filling the jar with water and completely emptying it again.
- Leave the chickpeas in a sprouting jar at room temperature in the kitchen and inverted on a drip tray to allow any water to drain. Cover the sprouting jar with a tea towel.
- Rinse and drain the chickpeas twice per day (first thing in the morning and in the evening maybe most convenient).
- Sprouted chickpeas are ready in 2-4 days when a white root at least the same size as the pod has grown from the top of each one.
- Rinse and drain them one final time then transfer the chickpeas to a tray lined with a tea towel or unbleached kitchen towel to dry completely. Remove any unsprouted chickpeas.
- Sprouted chickpeas are now ready to be used to make this homemade hummus. Measure out 1 cup/120 grams of sprouted chickpeas to be used in the recipe.
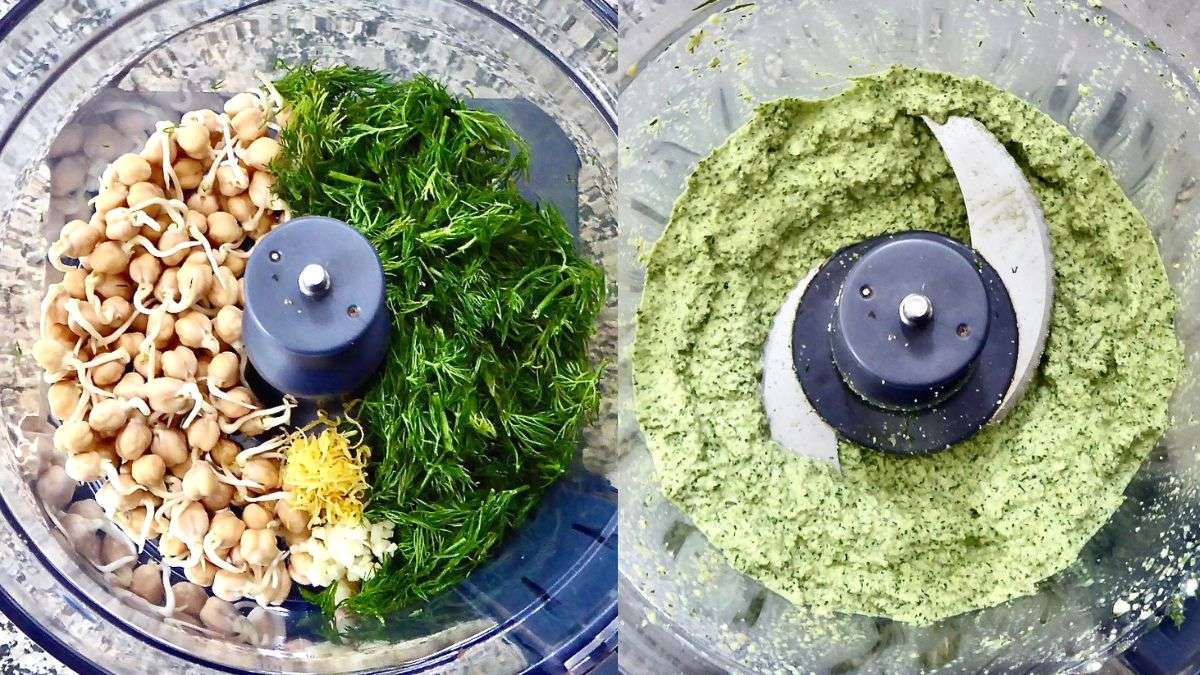
How To Make Homemade Hummus
- Place all the ingredients in a food processor and blend on high for 2-3 minutes, or until a smooth mixture is formed, scraping down the sides of the food processor when needed.
- Transfer to a bowl and serve or store in a glass container.
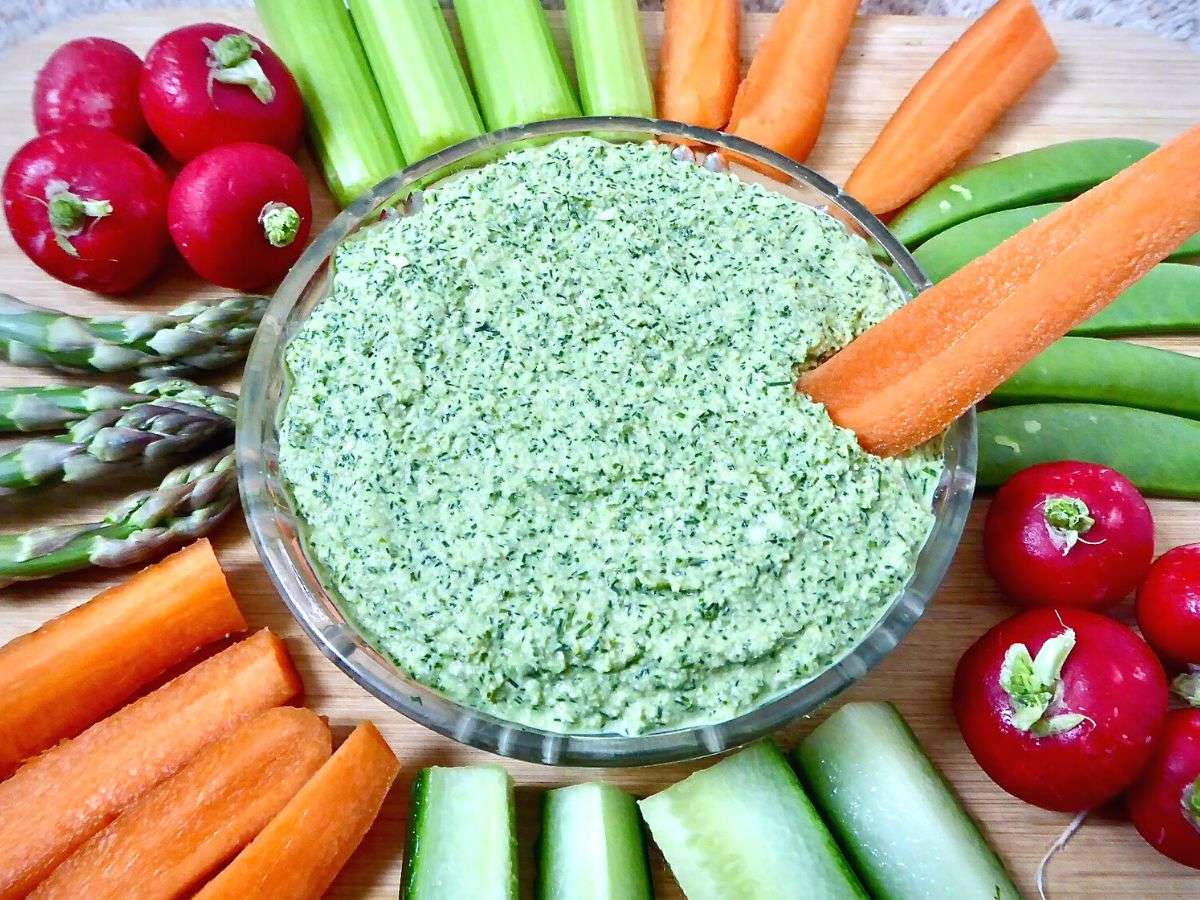
How To Eat Hummus
- Used as dip for vegetable sticks, which is great for an appetiser or snack.
- Healthy food swap for butter or mayonnaise in sandwiches, on toast and in wraps.
- Top a baked sweet potato.
- Thinned and stirred into pasta.
- Stirred into salads.
- Simply eaten on its own with a spoon as a healthy snack.
Related Post: 20 Healthy Food & Drink Swaps (For Numerous Dietary Requirements)
Storage
How long does homemade hummus last?
This hummus will keep for up to 3 days in the fridge stored in an airtight glass container. It will thicken and firm up the longer it’s stored and the lemon and dill flavours will develop and become stronger.
Can you freeze hummus?
It is best not to store this hummus in the freezer as it negatively affects the taste and texture.
Frequently Asked Questions
Yes, simply omit the garlic clove to make a hummus with no garlic.
Yes, the ingredients in this hummus are naturally gluten and dairy free.
Asparagus, celery, cucumber, courgette/zucchini and carrots can be cut into sticks and served with radishes and sugar snap peas to create a delicious hummus with crudités, which makes a great nutritious appetiser or snack.
Diet Requirements
This hummus is:-
- Gluten free
- Dairy free
- Lactose free
- Wheat free
- Nut free
- Seed free
- Grain free
- Nightshade free
- Oil free
- Vegan
- Vegetarian
Other Sprouted Chickpea Recipes
Other Sprouted Recipes
Follow Me On Social Media & Get In Touch
If you make this hummus I’d love to see your creations. Please leave me a rating and comment below and tag me on social media – I’m on Instagram, Facebook, Twitter, Pinterest & YouTube and also use the hashtag #lbhealthandlifestyle.
If you enjoyed this hummus, please share it on social media using the buttons below the recipe card.
Recipe Card
Sprouted Lemon Dill Hummus (Gluten Free)
Equipment
- Tea towel
Ingredients
- 1 cup sprouted chickpeas made using 1/3 cup/60 grams dried chickpea sprouting seeds (or sub 1 tin canned chickpeas, drained)
- 0.5 ounces fresh dill roughly chopped (approx 1/2 cup loosely packed)
- 1/4 cup lemon juice approx 2 medium lemons
- 2 tsp lemon zest approx 2 medium lemons
- 1 large garlic clove finely minced (omit for garlic free hummus)
- 3 tbsp filtered water or to desired consistency
Instructions
To Sprout Chickpeas
- Add 1/3 cup/60 grams of dried chickpea sprouting seeds to a sprouting jar and fill the jar fully with filtered water. Leave to soak for 12 hours.
- After 12 hours, drain the water, then rinse by filling the jar and draining it completely again.
- Leave the chickpeas in a sprouting jar at room temperature inverted on a drip tray and covered with a tea towel.
- Rinse and drain the chickpeas twice per day (first thing in the morning and in the evening).
- Repeat this process for 2-4 days. Sprouted chickpeas are ready when a white root that is at least the same size as the pod (approx 1/4 inch long) has grown from the top of each one.
- After a final rinse and drain transfer the chickpeas to a tray lined with a tea towel or unbleached kitchen towel to dry completely. Remove any unsprouted chickpeas.
- The chickpeas can now be used to make hummus. Measure out 1 cup/120 grams of sprouted chickpeas to be used in the recipe.
To Make Lemon Dill Hummus
- Place all the ingredients in a food processor and blend on high for 2-3 minutes, or until a smooth mixture is formed, scraping down the sides of the food processor when needed.
- Transfer to a bowl and serve or store.
Notes
Nutrition

I LOVE dill in almost anything and this hummus was no exception. It is so fresh and delicious.
Thank you so much Janessa, I’m so pleased you enjoyed the hummus. I love adding dill to everything too!
We made this recipe to have as a topping with smoked salmon on blini’s, and it was awesome 🙂
Thank you so much for letting me know Luke. I’m really pleased you all enjoyed it. I’m definitely going to have to try it on top of blini’s myself 🙂